Manage Your Wedding Events
Add and organize your wedding events like ceremony, reception, and pre-wedding parties.
Last updated February 21, 2026
Your wedding likely involves more than one occasion. Whether it is a ceremony, reception, rehearsal dinner, or pre-wedding party, Harusi Hub lets you manage each event separately so everything stays organized.
Getting to Your Events
Head to Dashboard > Events from the sidebar. You will see a list of all your wedding events, starting with your main event.
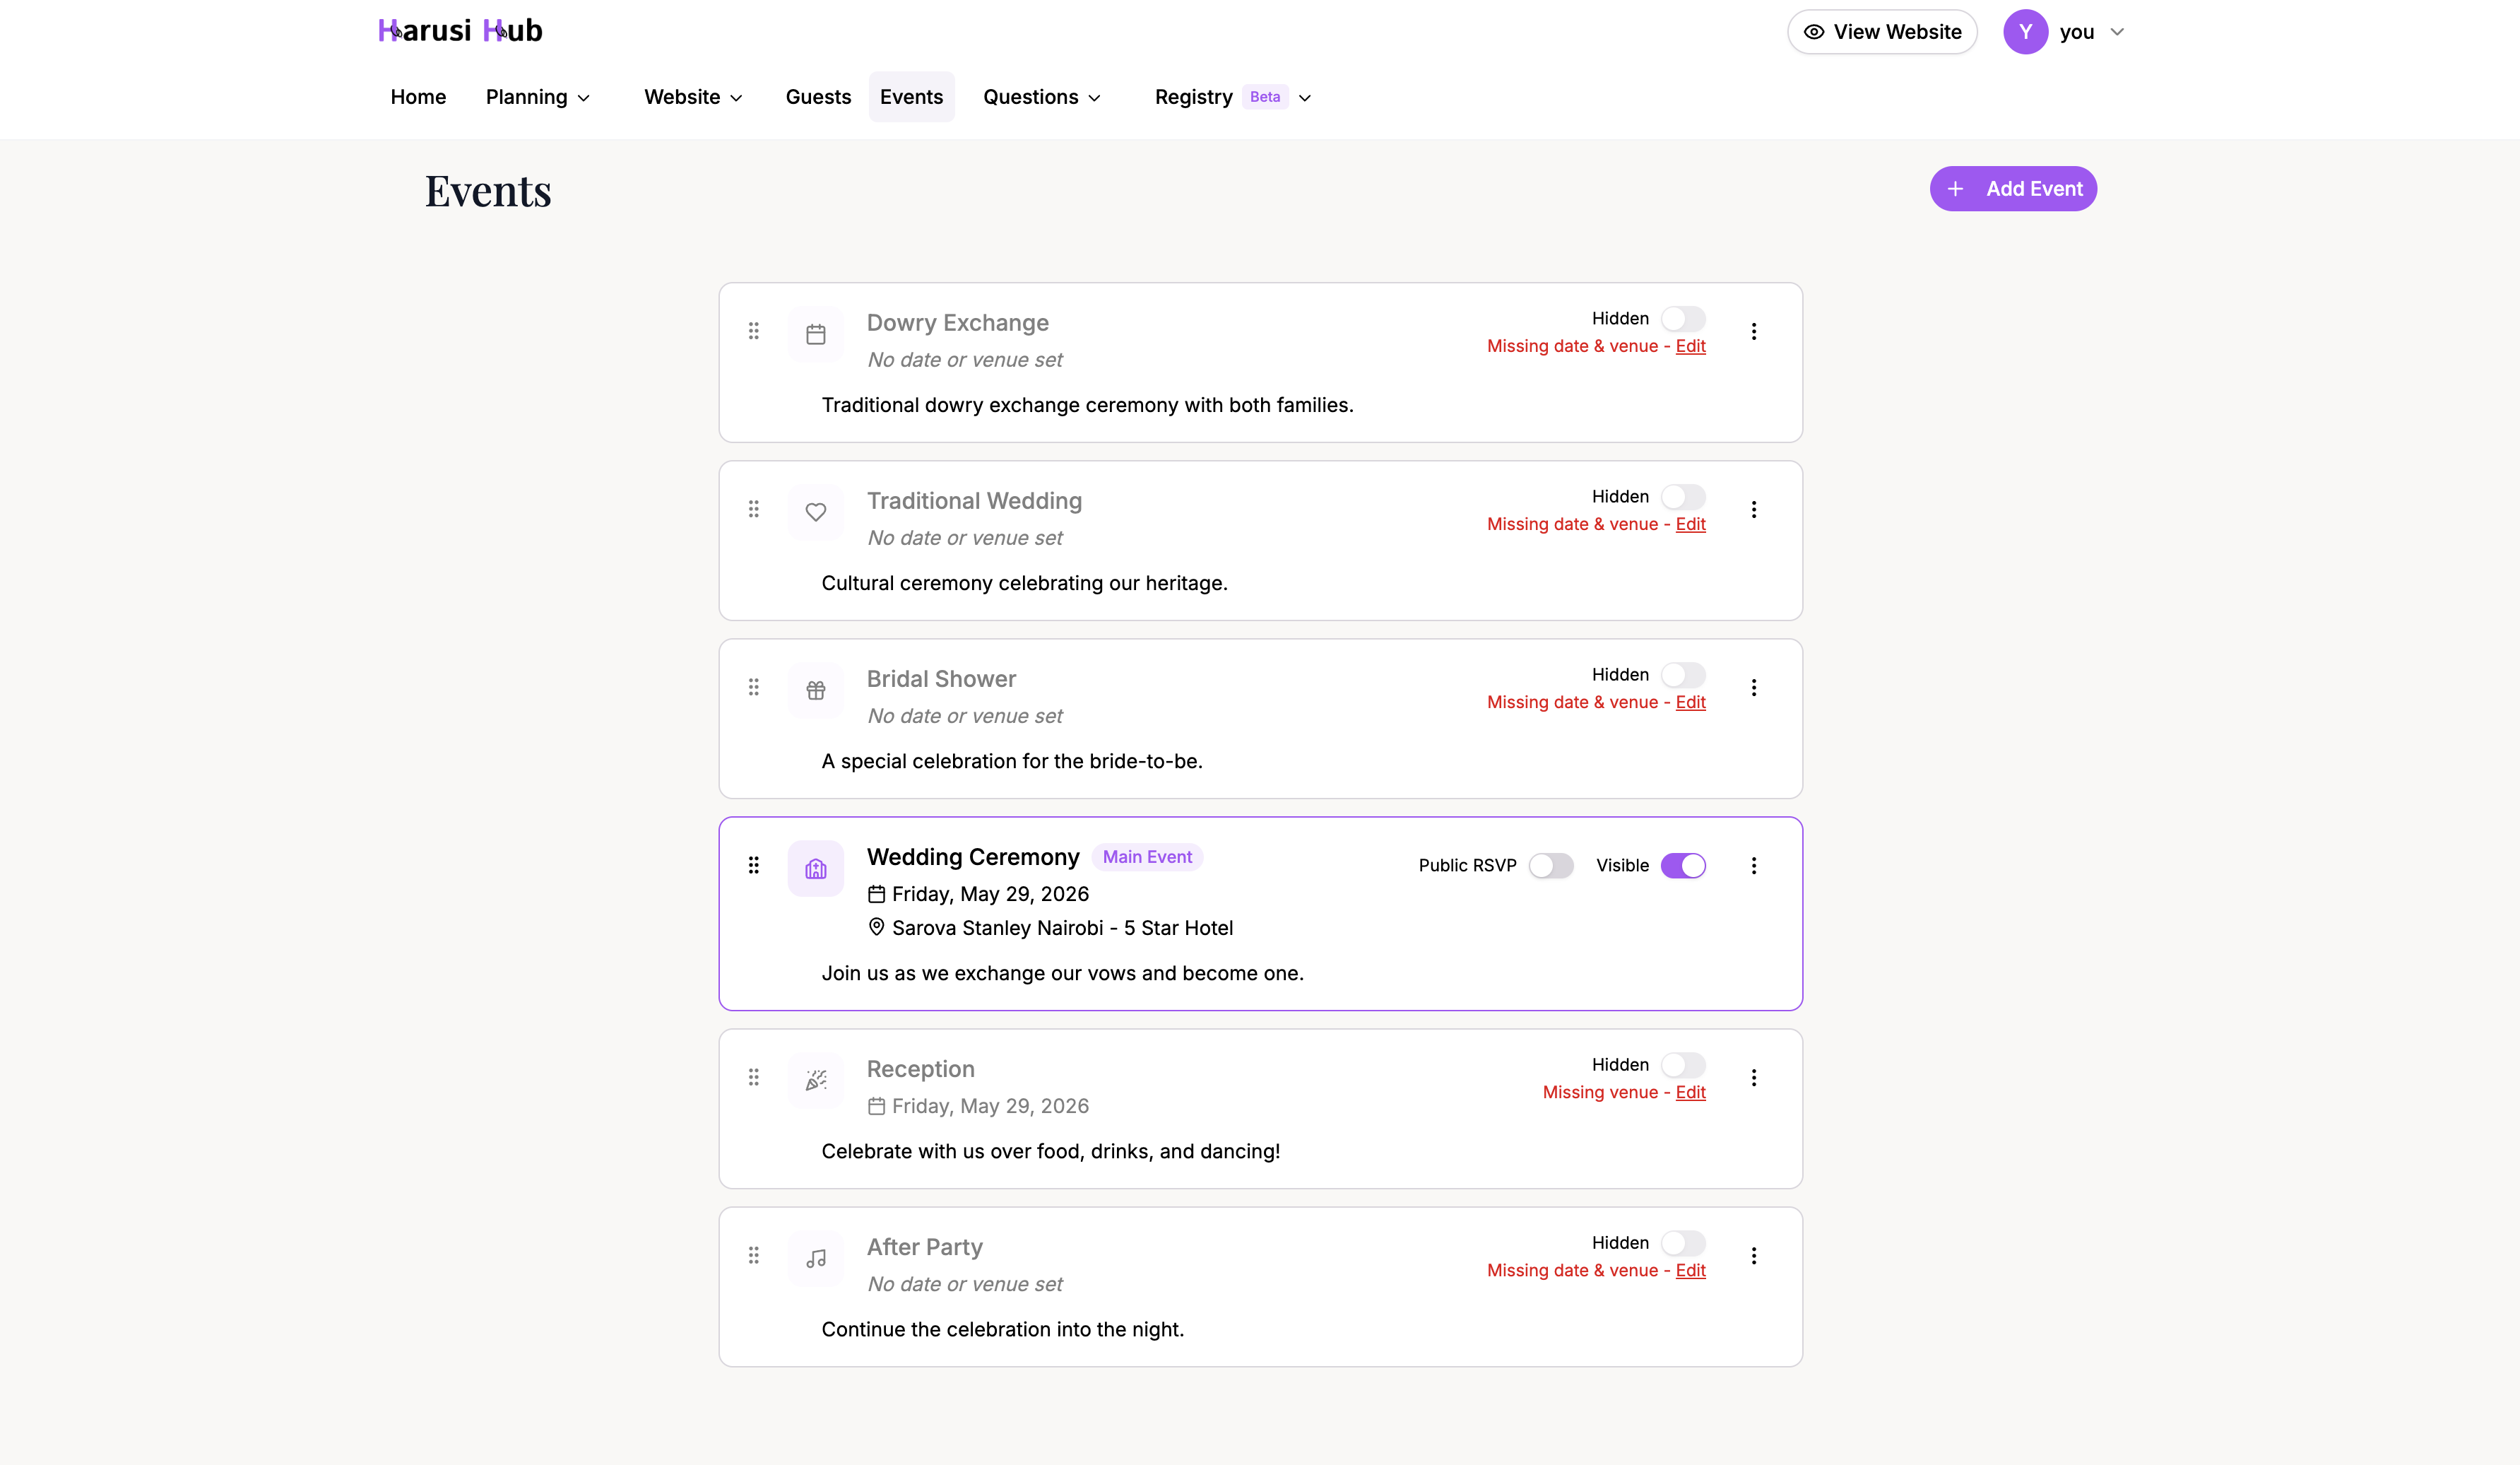
Understanding Events
Each event represents a separate occasion during your wedding celebrations. Events have a name, date, venue, and status. They connect to other features across Harusi Hub:
- Budget — each event can have its own budget, so you can track spending per occasion
- RSVP Questions — you can assign questions to specific events
- Guest RSVPs — guests can RSVP to individual events they are invited to
Your Main Event
When you create your wedding, a main event is automatically set up. This is your primary wedding event and cannot be deleted. You can still edit its details like any other event.
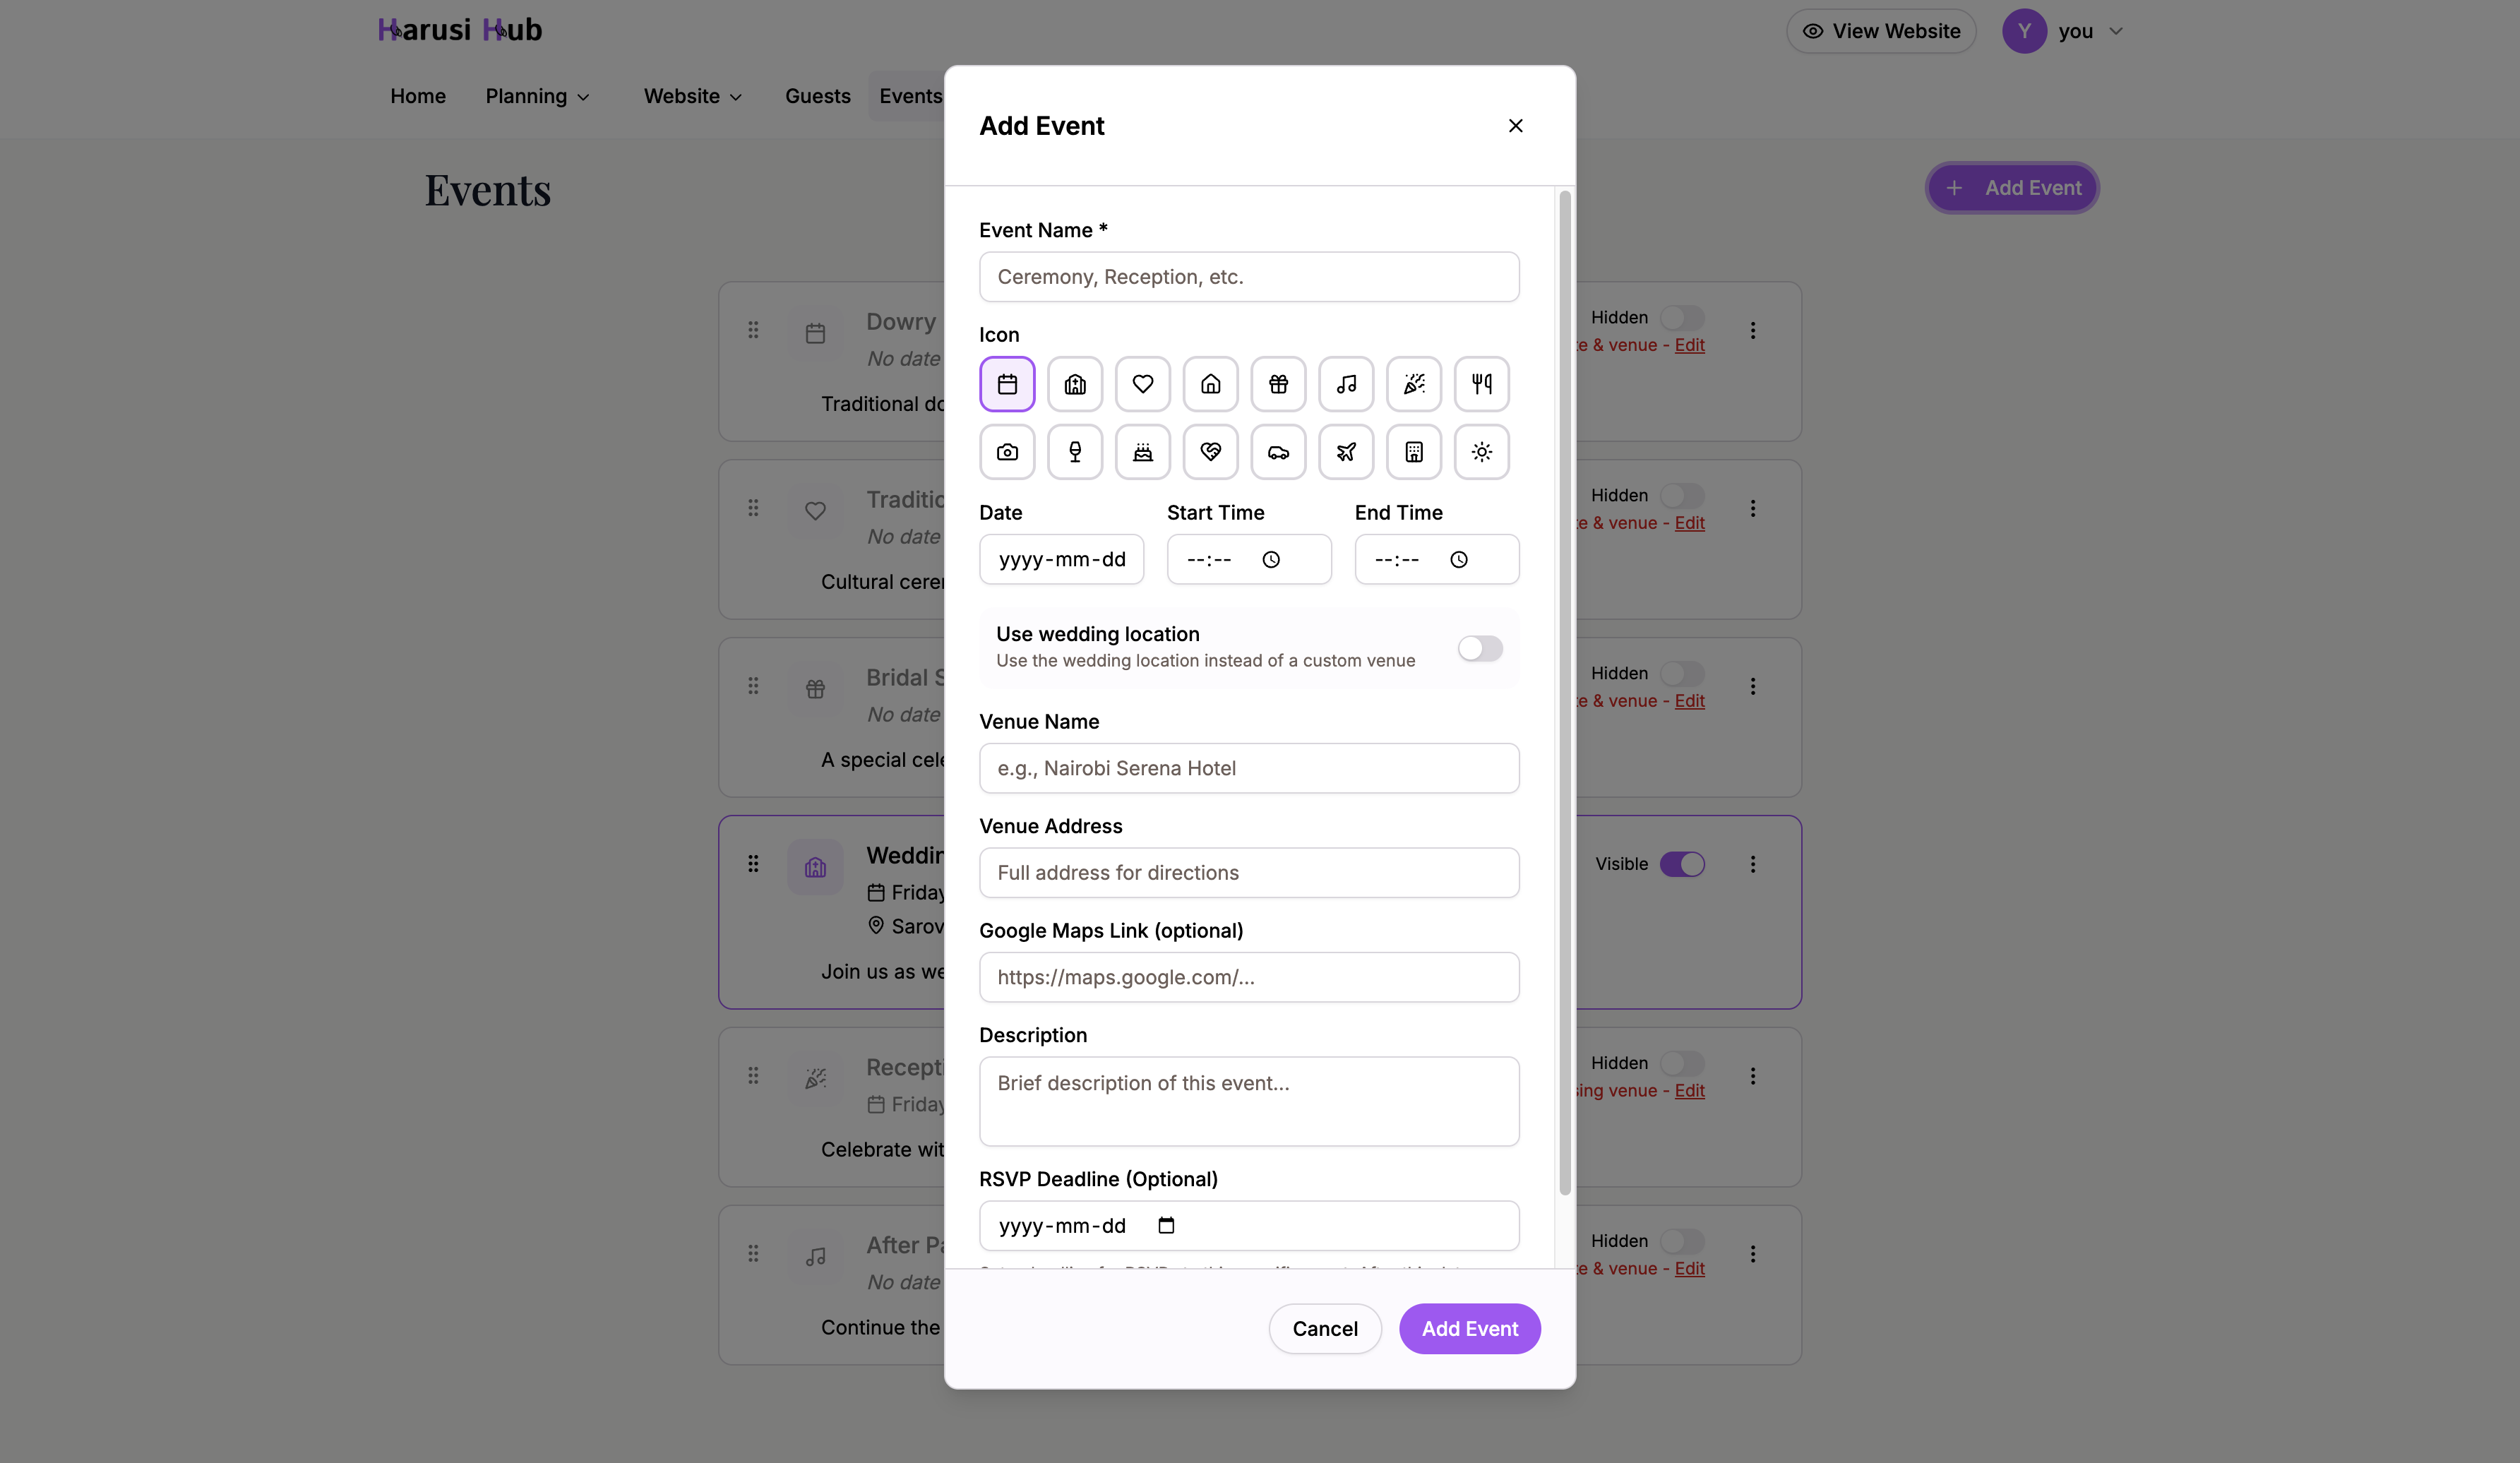
Adding a New Event
- Click the Add Event button at the top of the events page.
- Enter the event name (e.g., “Rehearsal Dinner” or “Pre-Wedding Party”).
- Set the date for the event.
- Add a venue — enter the venue name and address, or choose to use your main wedding location.
- Click Save to create the event.
Editing an Event
Click on any event to open its edit dialog. You can update the name, date, and venue details. Changes are saved when you confirm the dialog.
Duplicating Events
Need to create a similar event? Use the Duplicate option on any event card to quickly copy it. This creates a new event with the same details, which you can then customize.
Reordering Events
Drag and drop events to change their order in the list. This is useful for arranging events in the order they will happen.
Enabling and Disabling Events
Events can be toggled between enabled and disabled. To enable an event, it must have both a date and a venue set. Disabled events will not appear in guest-facing features.
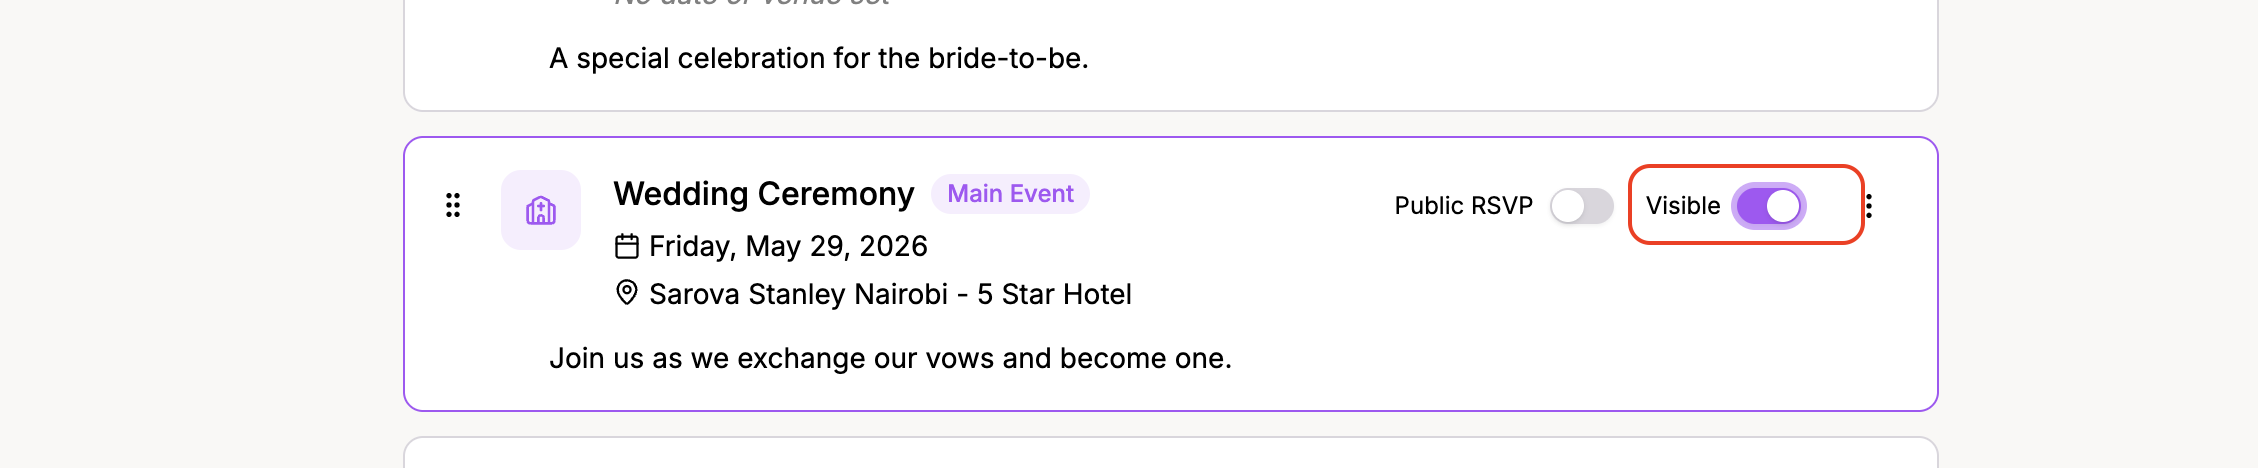
Public RSVP Toggle
Each event has a Public RSVP toggle. When turned on, guests can RSVP specifically for that event. This is useful when not all guests are invited to every occasion — for example, you might have a smaller rehearsal dinner with RSVP disabled and a larger reception with RSVP enabled.
Deleting Events
To delete an event, use the delete option on the event card. You will be asked to confirm before the event is removed. Remember, your main event cannot be deleted — it is protected to keep your wedding set up properly.
Filtering Events
Use the filter at the top of the events list to switch between:
- All — shows every event, including disabled ones
- Active — shows only enabled events
This helps you focus on the events that are currently part of your plans.
Tips
- Start by setting up your main events (ceremony and reception), then add extras like pre-wedding parties.
- Use the duplicate feature when multiple events share the same venue.
- Keep disabled events around as drafts until you finalize the details.