Complete Your Onboarding
Walk through the onboarding wizard to set up your cover photo, budget, events, gift registry, invite links, and preview your website.
Last updated February 21, 2026
After creating your wedding, you’ll be taken through an onboarding wizard that helps you set up the key parts of your wedding website. Every step is optional — skip anything you’re not ready for and come back later from your dashboard.
A progress bar at the top tracks how far along you are. You can also click Skip to Dashboard at any time to jump straight to your dashboard and finish setup later.
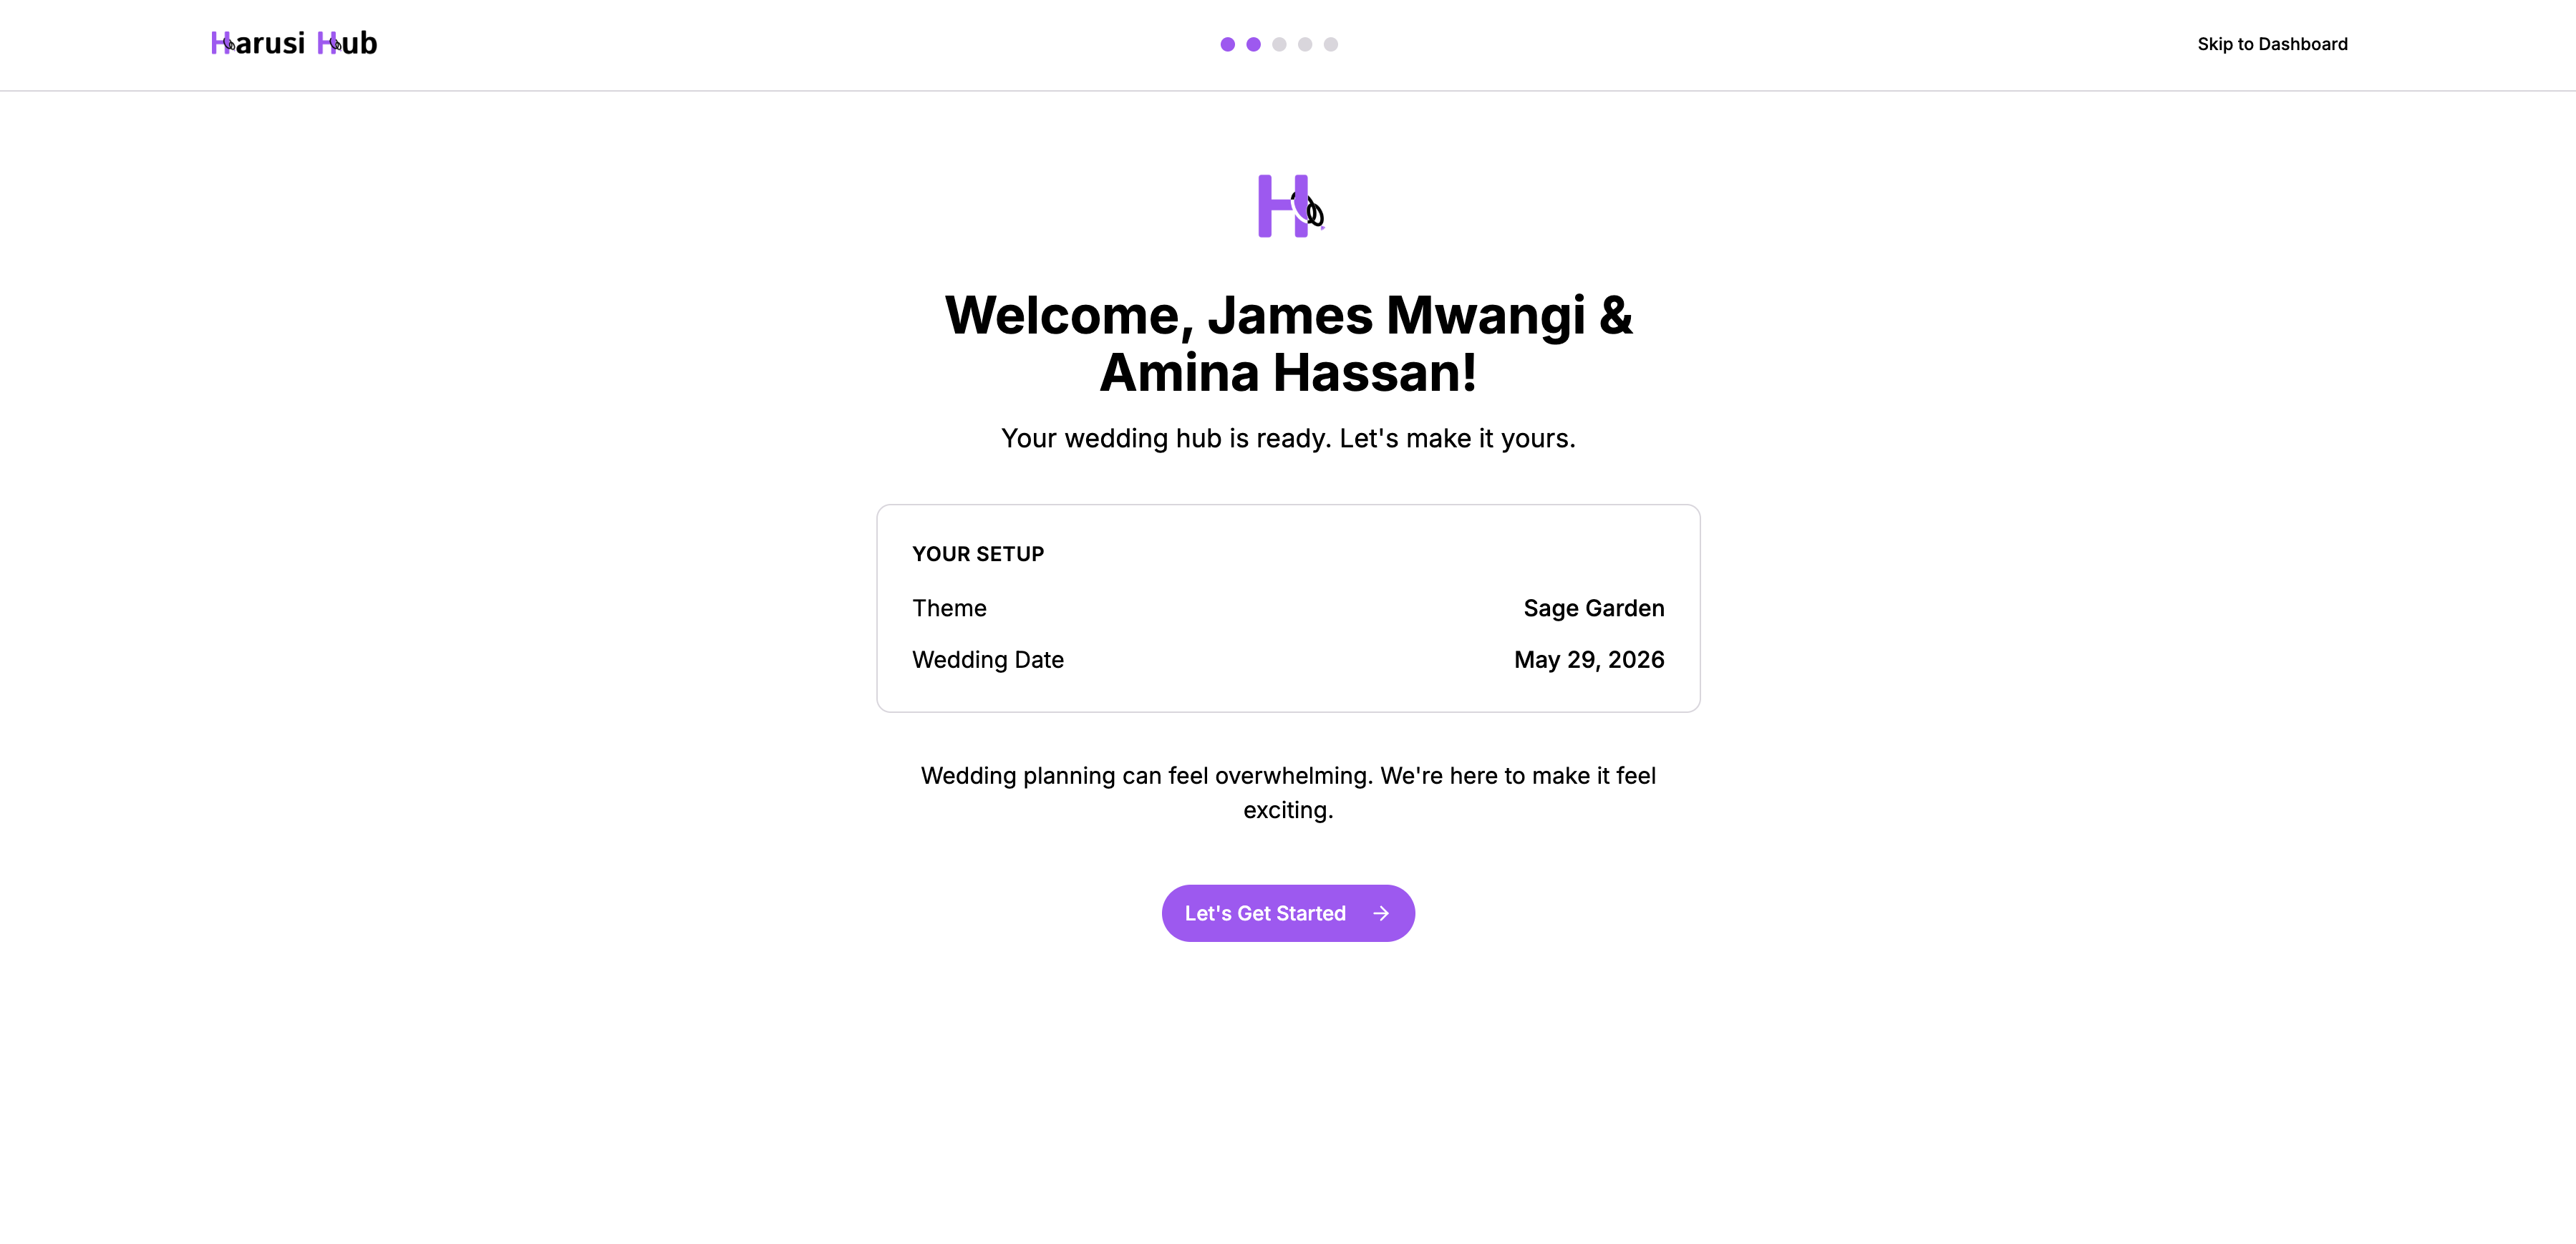
Step 1: Welcome
The first thing you’ll see is a celebration screen with confetti and your names. It confirms your chosen theme and wedding date. Click Let’s Get Started to begin.
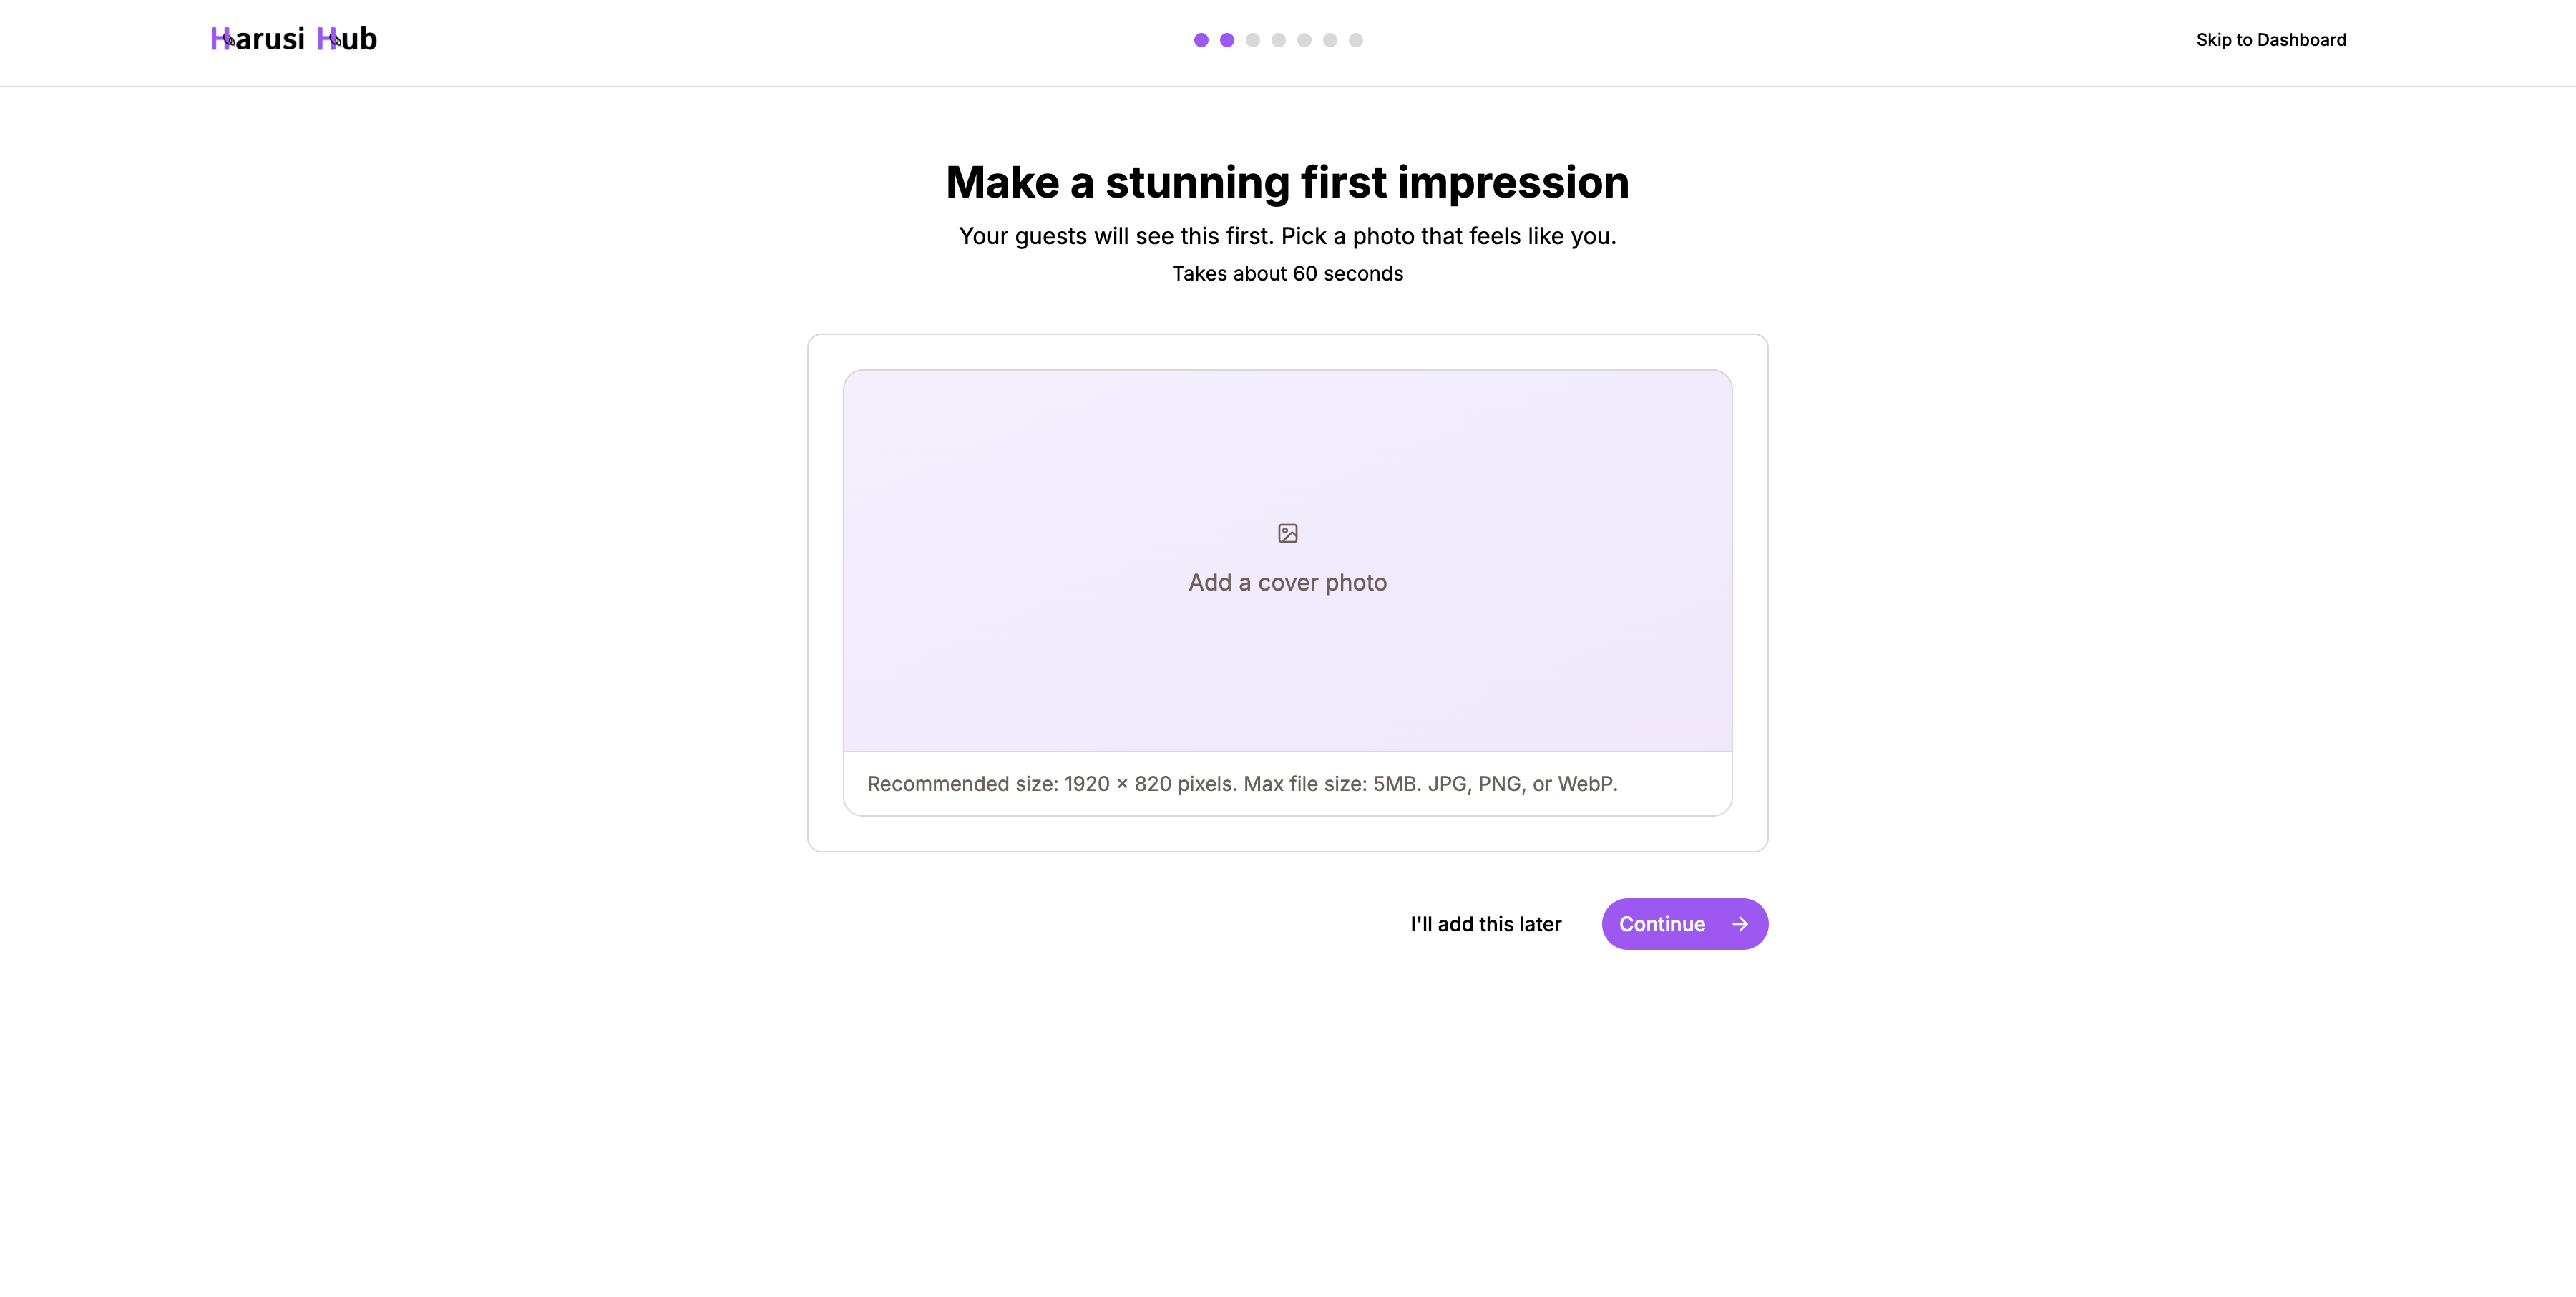
Step 2: Cover Photo
Upload a hero image for your wedding website. This is the large photo visitors see first when they land on your site — an engagement photo or a favourite couple shot works great.
- Drag and drop or click to upload
- Skip this step if you don’t have a photo ready yet
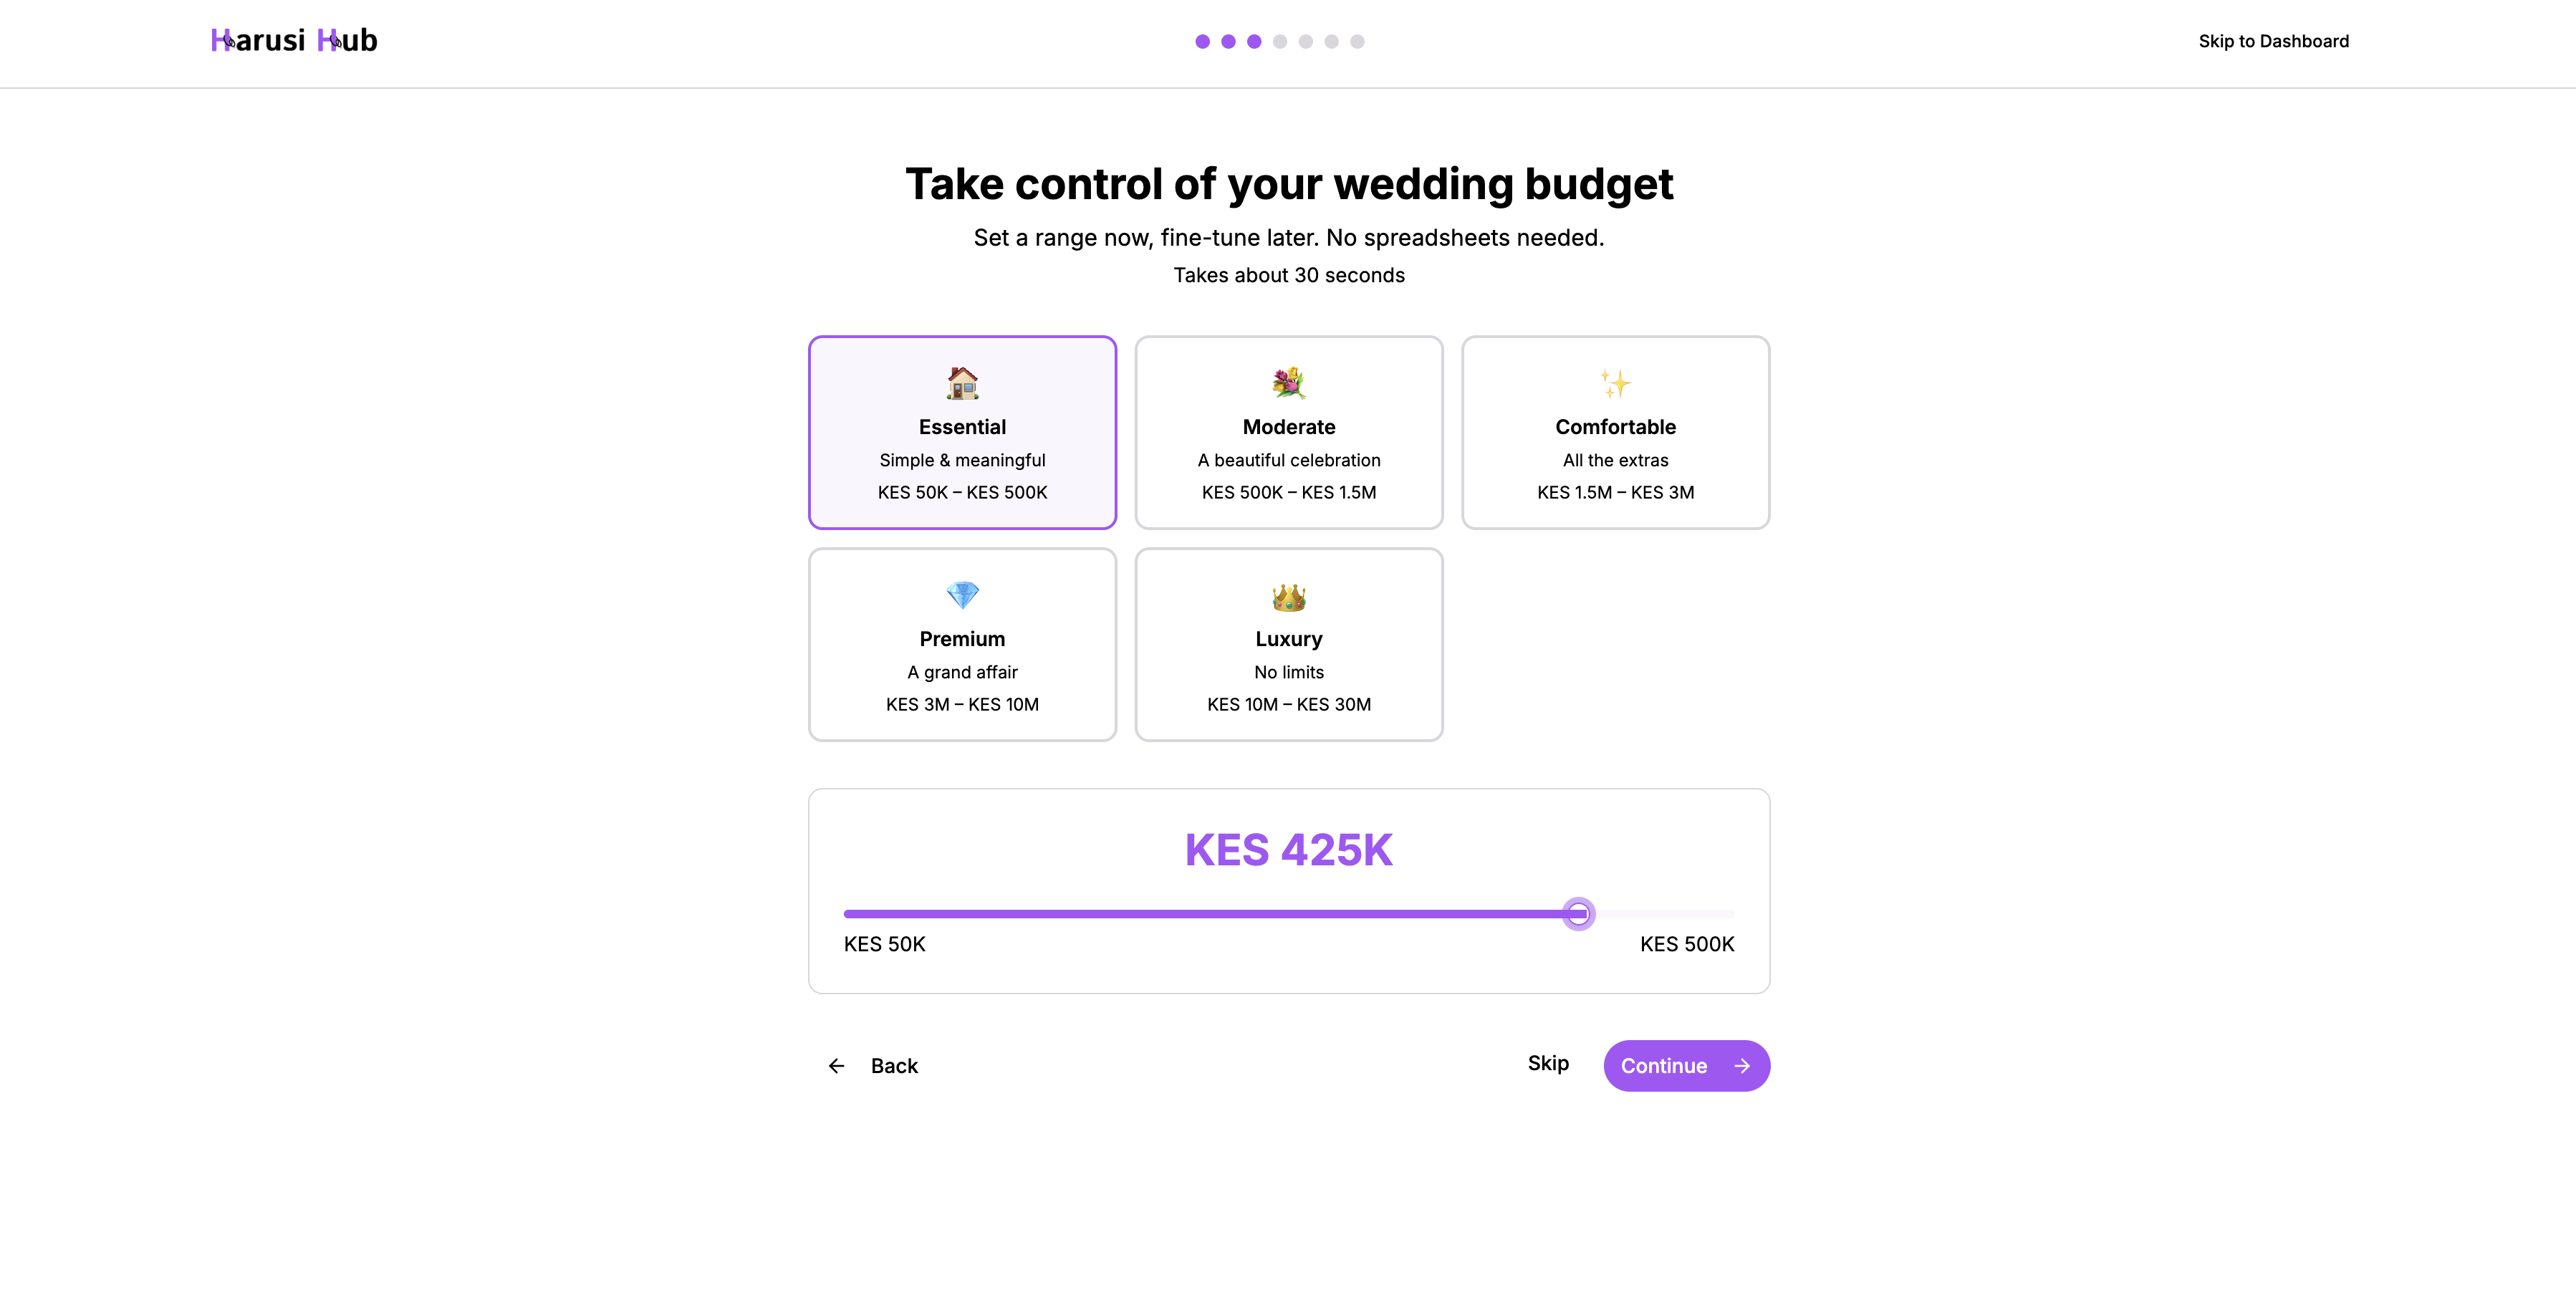
Step 3: Set Your Budget
Choose a budget range that fits your plans. Five categories are available:
| Category | Range |
|---|---|
| Essential | KES 50K – 500K |
| Moderate | KES 500K – 1.5M |
| Comfortable | KES 1.5M – 3M |
| Premium | KES 3M – 10M |
| Luxury | KES 10M – 30M |
After picking a category, use the slider to set your exact amount. This budget gets saved to your main event and powers the budget tracker.
Step 4: Configure Your Events
Set up the details for each of your wedding events. Your main event is already created — you can add more like a reception, pre-wedding ceremony, or after-party.
For each event:
- Toggle it on or off
- Set the date
- Search for a venue (powered by Google Places, filtered to Kenya)
- Enable RSVP once the date and venue are set
If you try to skip with incomplete events still enabled, you’ll be asked to confirm — incomplete events will be disabled automatically.

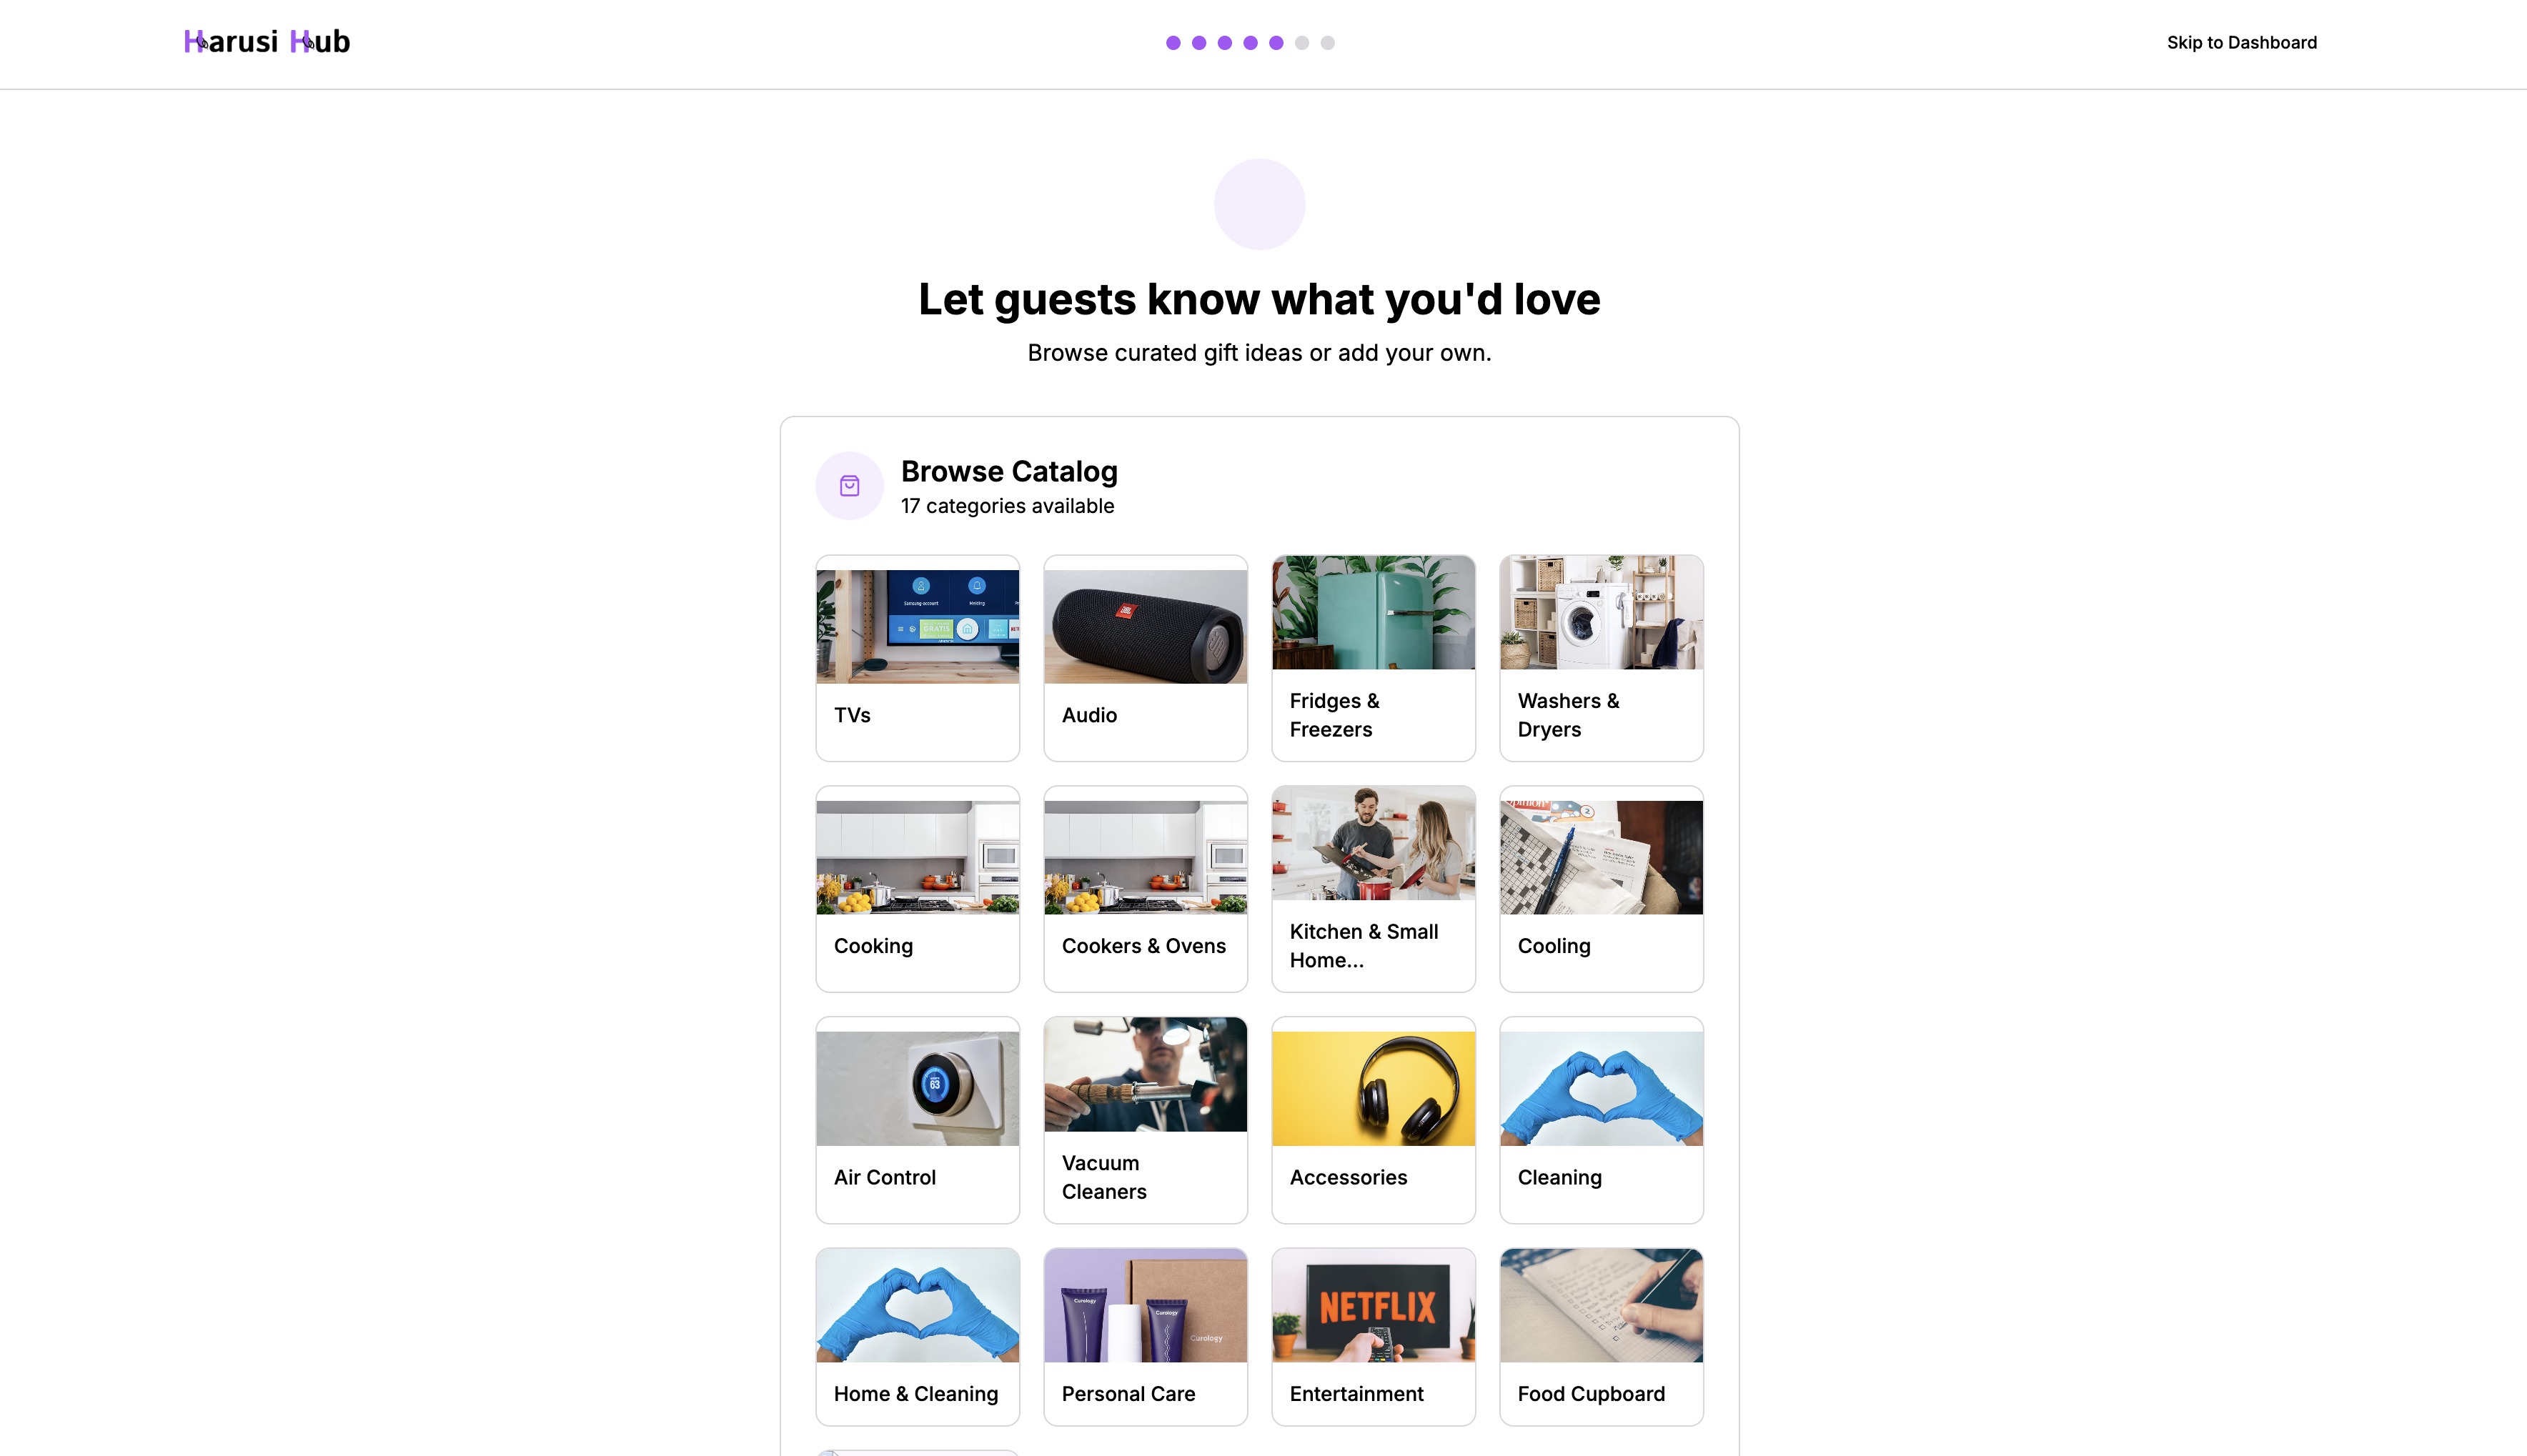
Step 5: Gift Registry
Browse the gift registry catalog and add items for your guests to contribute to. Categories are displayed in a grid — click any category to see available items and add them to your registry with one click.
You can also set up cash funds and custom products later from Dashboard > Registry.
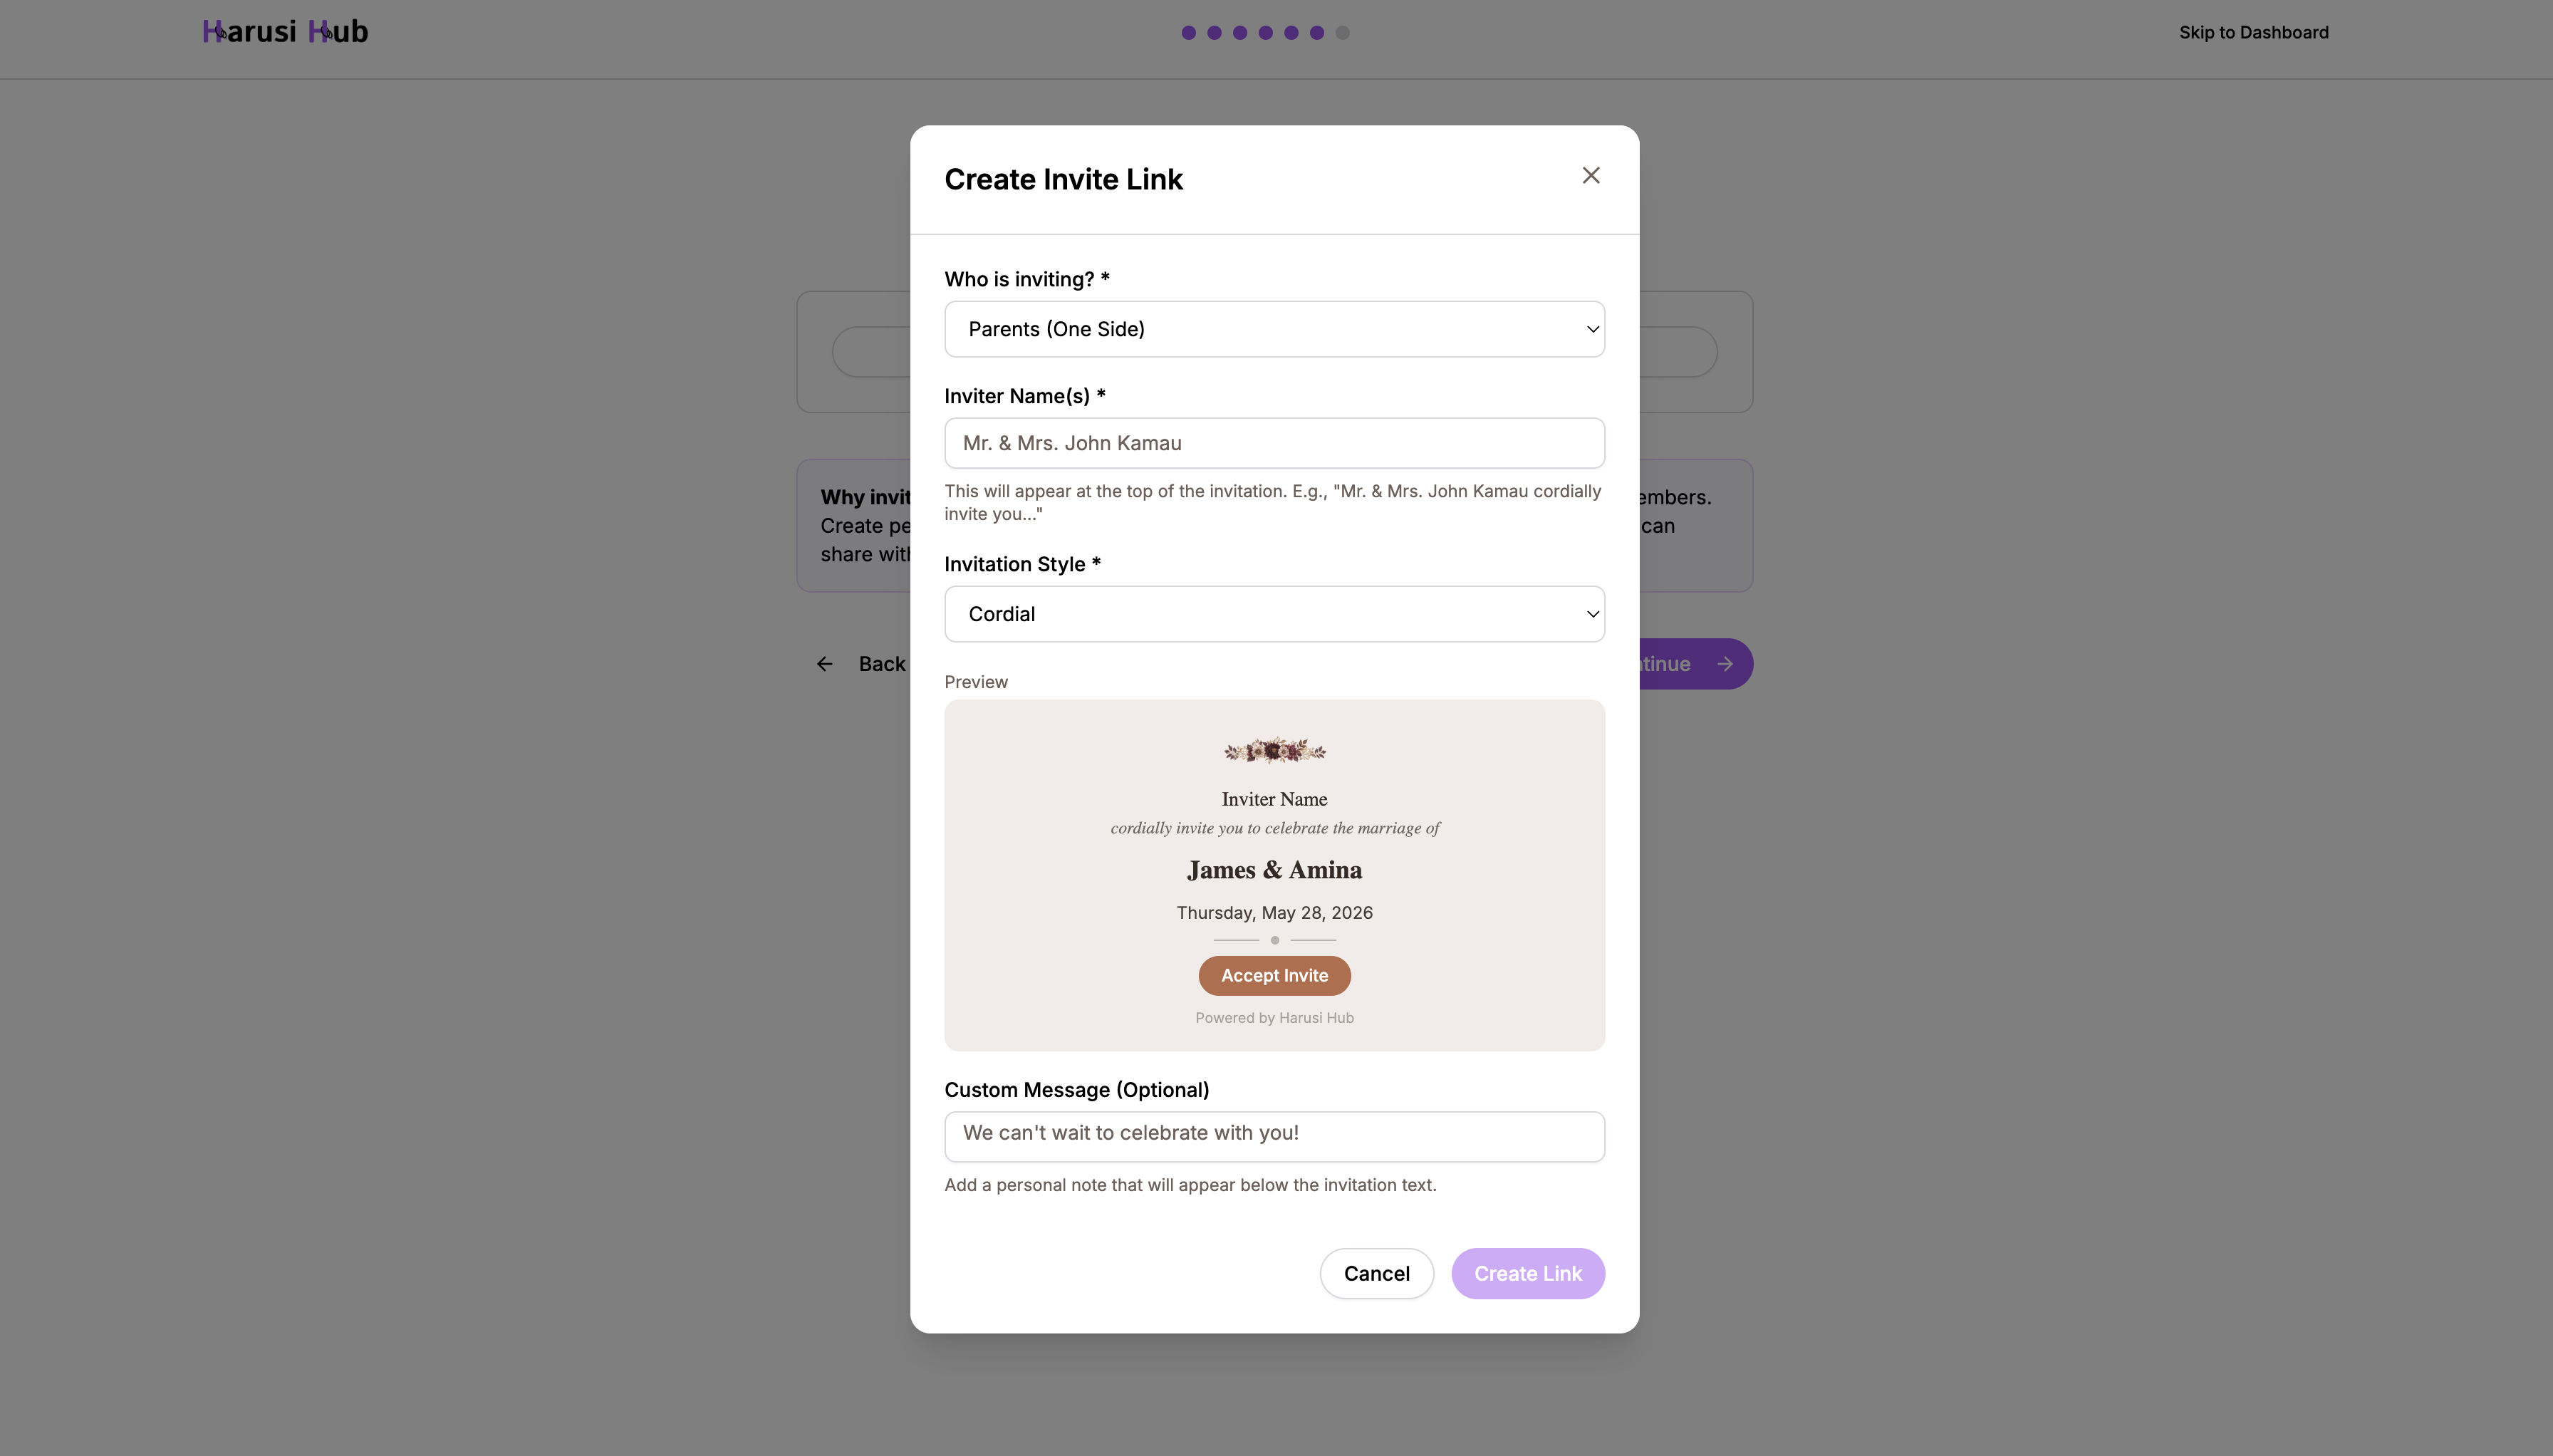
Step 6: Create Invite Links
Set up shareable invite links so family members and friends can send invitations on your behalf. This is especially useful when invitations traditionally come from parents or other family members.
- Create links with custom inviter names
- Preview how the invitation looks
- Share via WhatsApp, email, SMS, or copy the link
You can manage these later from Dashboard > Settings > Invite Links.
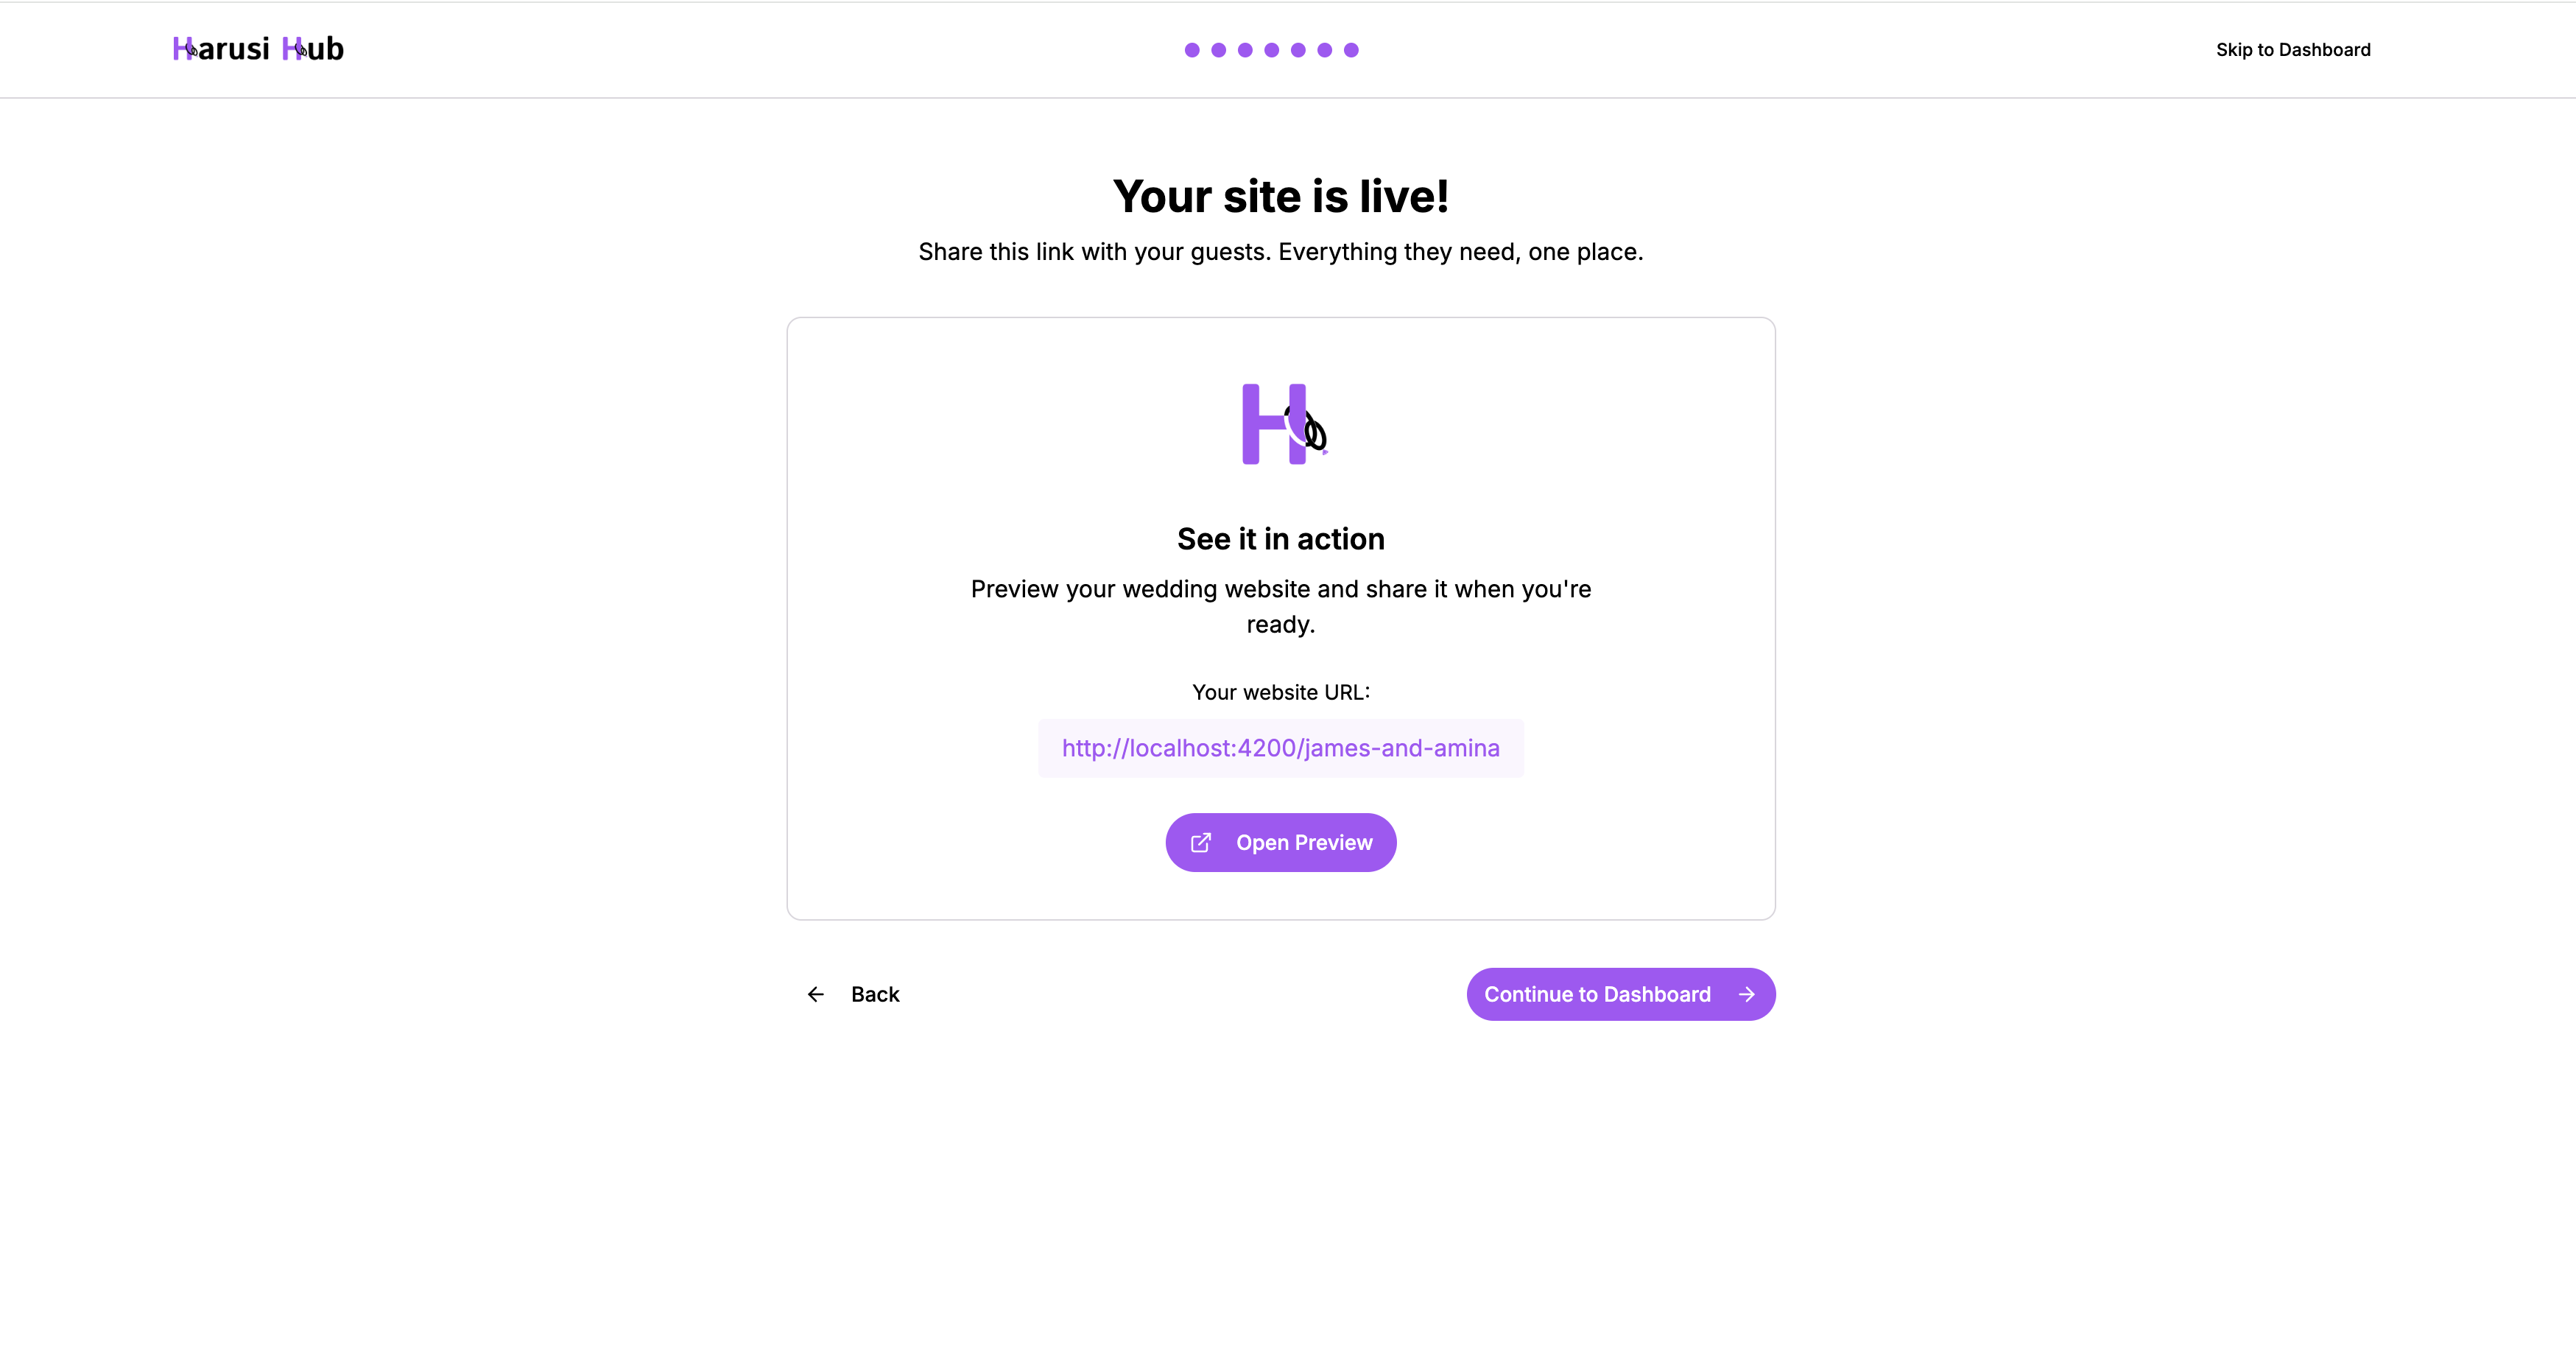
Step 7: Preview Your Website
The final step shows your live wedding website URL. Click Open Preview to see how everything looks to your guests. When you’re happy, click Continue to Dashboard to finish onboarding and land on your dashboard.
Tips
- Every step has a skip button — you’re never locked in
- Your progress is saved automatically, so you can close the browser and pick up where you left off
- Anything you skip during onboarding can be set up later from your dashboard